
In today’s world, people want to work from anywhere – without downtime. That’s why your company has invested in an HA environment with multiple servers, a cluster of firewalls and multiple internet connections with two or more ISP’s. When the primary connection goes down, you run to your computer to change the DNS records that point to the Citrix, VPN and other services. Because it takes a while, people start to call in and your evening is ruined. With Azure Traffic Manager you can configure a cheap DNS failover that will fix this for you!
Azure Traffic Manager
Azure Traffic Manager is a DNS based load balancer that can be used to direct client requests to the most appropriate endpoint. You can route traffic based on multiple routing methods like priority, geographic and more! The best part is that your endpoint can be any internet facing service – both inside and outside of Azure.
In this example i’ll create a traffic manager that will automatically do a DNS failover of an on-premises Outlook Web Access.
Create a Traffic Manager
- Sign-in to your Azure Portal.
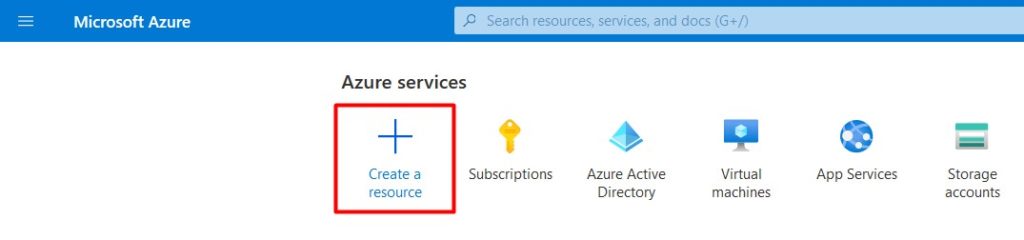
- Click Create a resource.
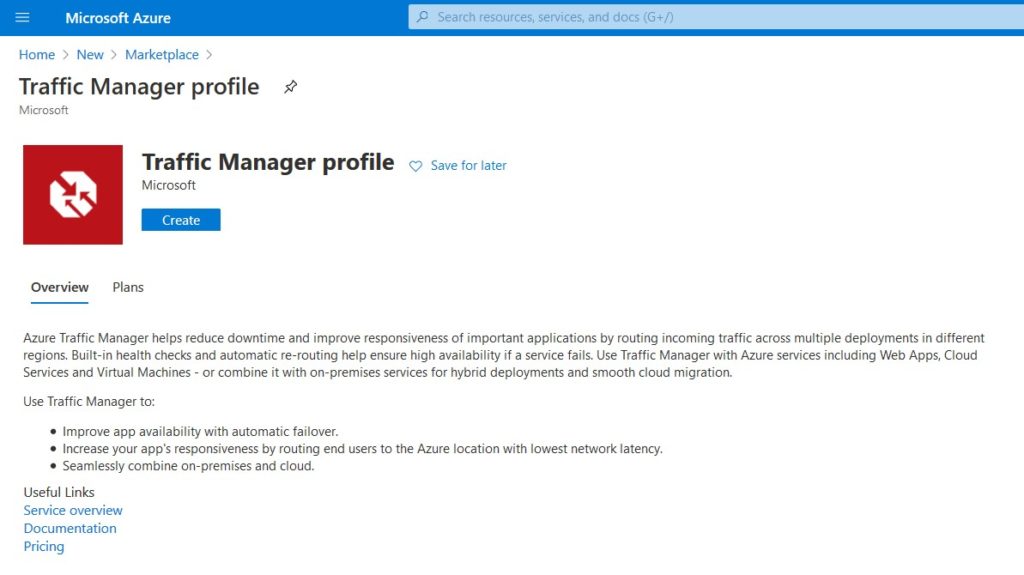
- Search for Traffic Manager Profile and click Create.
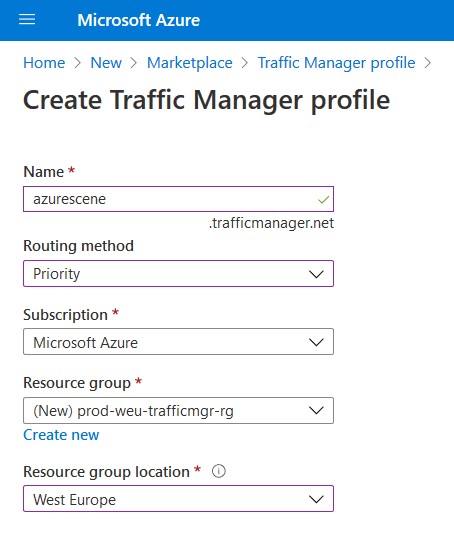
- Fill in all information. For a simple DNS failvoer we’ll choose Priority as our routing method. This way traffic will always be directed to your primary connection unless it’s down. After you click Create, it takes less than a minute to deploy the Traffic Manager.
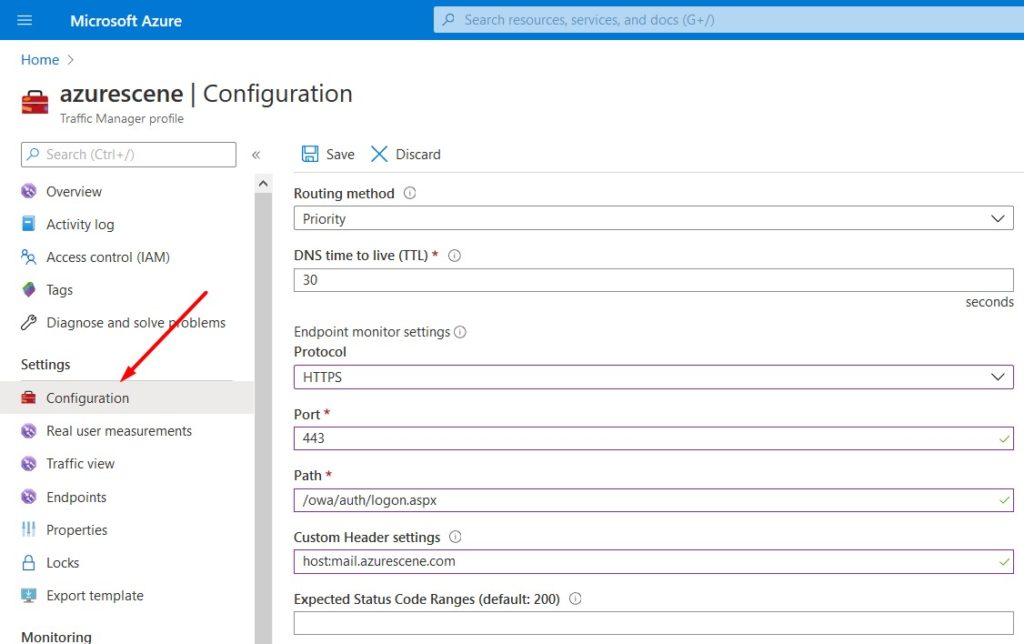
- Click on Configuration to start configuring the resource.
- Routing method should be set to Priority. When configuring our endpoints, well controll the priority by assigning a number (a priority) to each endpoint.
- 30 seconds is a good value for the DNS time to live. This value controls how often the client’s caching name server will query the Traffic Manager for changes.
- The Protocol should be HTTP or HTTPS, depending on your endpoint – Don’t forget to set your Port.
- Your Path should the the relative path of the webpage/file that needs to be monitored. In my example below i’m going to monitor the on-premises OWA (/owa/auth.logon.aspx).
- For a simple DNS Failover you can set the Custom Header Settings to host:yourFQDN. The full path of the service to be monitored is now https://mail.azurescene.com/owa/auth/logon.aspx.
If you need different header settings for your endpoints, you can configure these at the endpoint itself. - You can (probably) leave the status code empty (defaults to 200, which is ‘Success’).
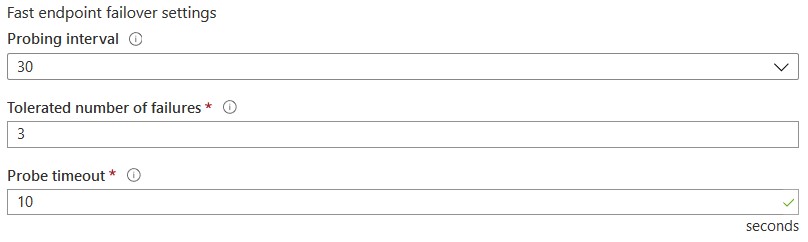
The probing interval, tolerated number of failures and probe timeout are important settings that will decide how fast and endpoint is considered offline.
- The default Proving interval is 30 seconds. When you change this to 10 seconds you are fast probing. Fast probing is a bit more expensive than the default setting.
- The Tolerated number of failures shows how many failures a probing agent tolerates before marking the endpoint offline. A value of 0 means a single failure will cause the endpoint to be marked unhealthy.
- The Probe timeout is the amount of time the probing agent should wait before considering and endpoint on- or offline. This value is either 5 seconds or 10 seconds (or 5 or 9 seconds when using fast probing).
With the settings below it can take up to 90 seconds before and endpoint is marked unhealthy. Setting the probing interval to 10 seconds and the number of failures to 0, this is reduced to a maximum of 10 seconds (and a maximum of 30 second for the client to pick up the changes).
Add your endpoints
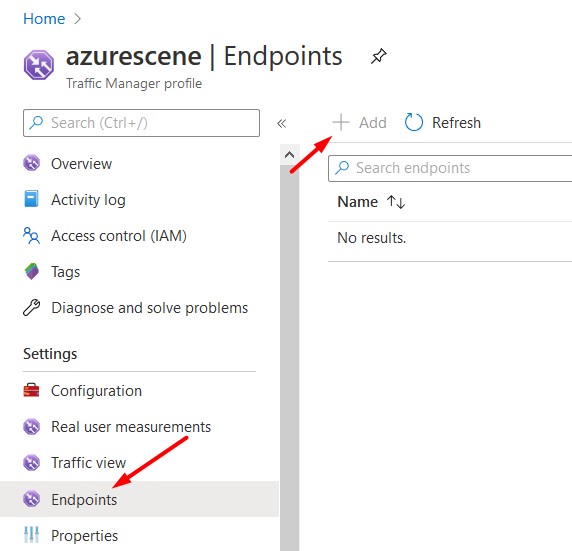
- Click on Endpoints > Add to add your first endpoint.
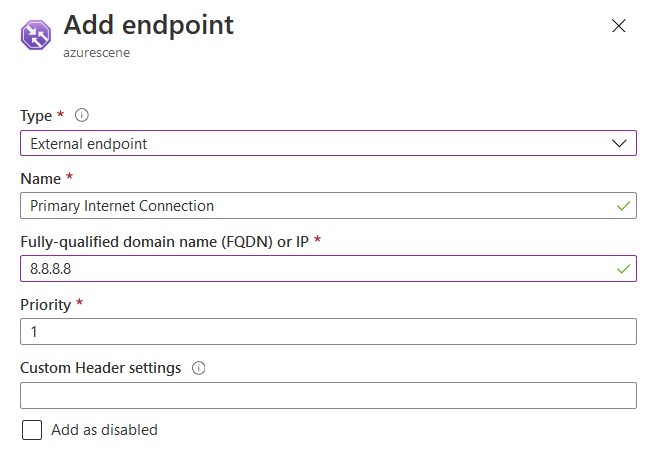
- Select External endpoint to add on-premises services like a VPN server our Citrix environment. Set the IP address to the WAN IP of your primary internet connection and the Priority to 1.
- And an endpoint for every internet connection/WAN IP you have and change the priority accordingly. Be sure that the monitor status is Online.

Change your DNS records
The last step you need to do is creating a CNAME record that’ll point your FQDN to the traffic manager.
- Click Overview and make note of your Traffic Manager DNS name.
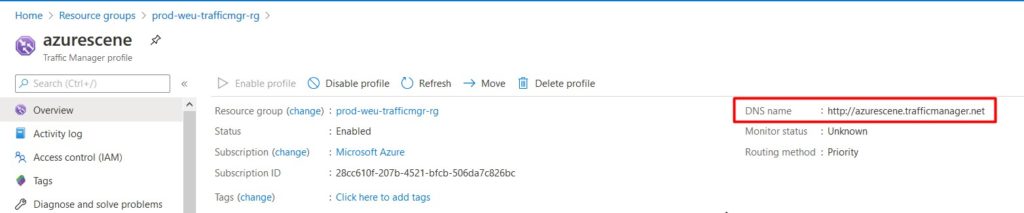
- Log on to your domain registrar and create a CNAME record that’ll point your FQDN to Azure Traffic Manager.

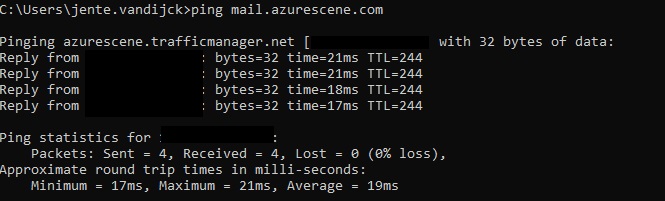
- Wait for DNS to update and try pinging your FQDN. It should return your primary IP address.
No more ruined evenings with a simple and cheap fix!